Tag: OFM

  • AI Influencer Automation: Copy Movements, Add Style From Other Video and Post Automatically

    This guide continues from where we left off — showing you how to generate realistic videos for your AI influencer by copying the motion and camera style from real influencer videos.
    Using SocialAppFarm, your AI influencer can mimic real-world movement, posture, and style automatically.

    ⚠️ Important

    AI generation results may vary. While SocialAppFarm’s AI tools are designed to create high-quality content, outputs are not always perfect. You may need to generate multiple times or adjust prompts and settings to achieve the best results. Quality improves with better input images, detailed prompts, and consistent experimentation.

    Generating normal realistic Videos for your influencer


    Step 1: Create Content Queues

    We’ll need two content queues — one for the AI influencer videos and one for the reference videos we want to copy movement from.

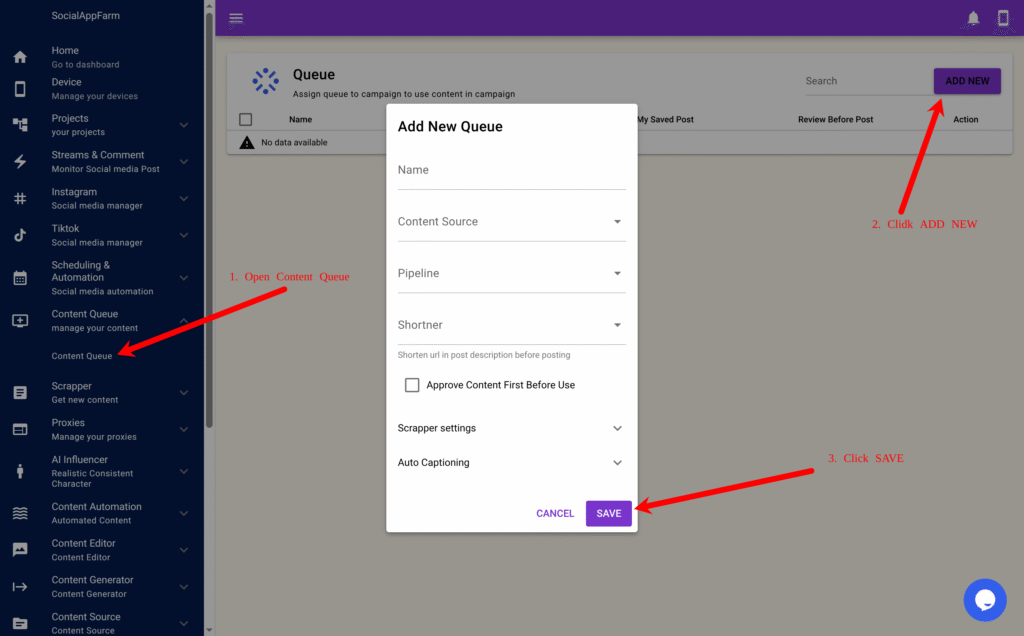
    1. Go to Content Queue → Content Queue.
    2. Click Add New, name it: My Influencer Video Queue Then click Save.
    3. Click Add New again, name the second queue: Copy Movement Videos Upload the reference videos whose style or motion you want your AI influencer to imitate.
      These videos will act as motion templates for your AI influencer’s generated clips.
    Step 2: Create Faceless Content Automation

    1. Go to Content Generator → Faceless Content.
    2. Click the New button to create a new automation form.
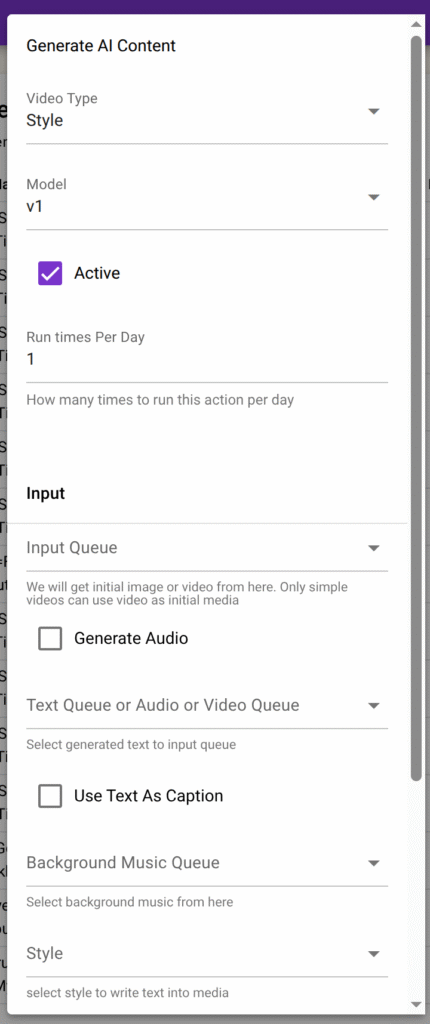
    3. Fill in the fields as follows:
    FieldDescription
    Run TimesNumber of times per day you want videos generated (e.g., 2–4 times daily).
    Video TypeSelect Style.
    ResolutionChoose 480p or 720p (720p offers higher quality but uses more credits).
    Input QueueSelect the queue where your AI-generated images are stored. These images will be used to build the videos.
    Text / Media QueueSelect Copy Movement Videos — this provides the video style and motion.
    Background Music QueueChoose a queue that contains your background music files.
    Text StyleSelect the text style you created earlier (e.g., My First Text Style).
    Output QueueSelect My Influencer Video Queue — where finished videos will be saved.

    Caption Notes

    If the image in your input queue has a caption, it will automatically be transferred to the generated video.
    If a caption includes a colon (:), SocialAppFarm will treat it as:

    • Text before the colon → shown as an overlay on the video.
    • Text after the colon → used as the post caption on social media.

    Example:

    At the beach: A relaxing moment by the sea
    
    • “At the beach” → displayed as video text.
    • “A relaxing moment by the sea” → used as your post caption.
    Step 3: Save and Start Generating

    Once all fields are filled:

    1. Click Save to activate the automation.
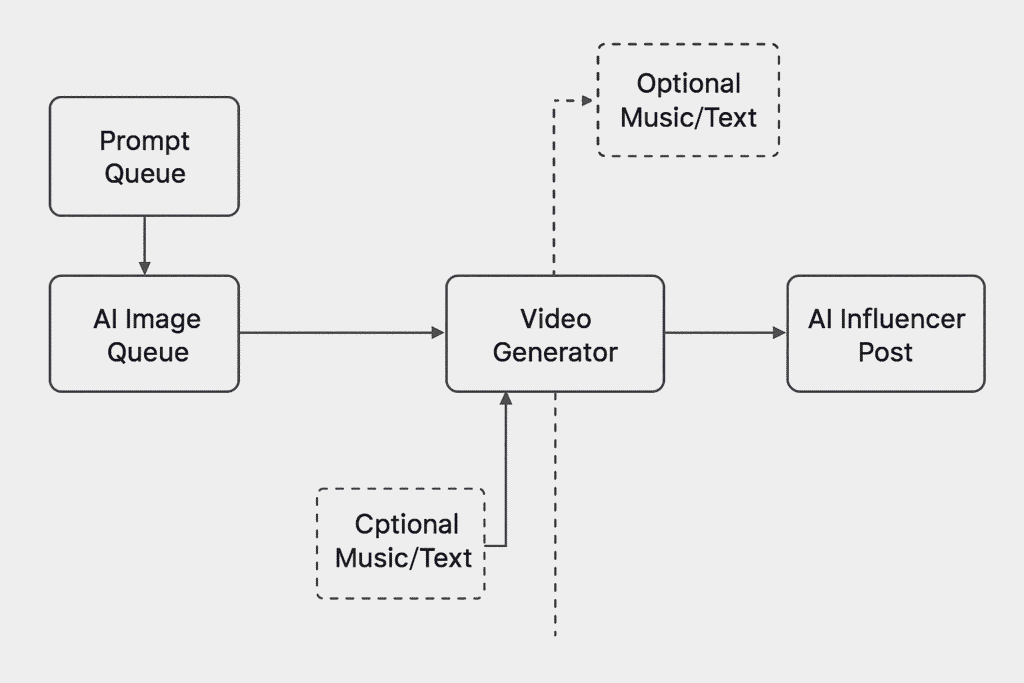
    2. SocialAppFarm will now automatically:
      • Take new images from your Input Queue
      • Apply movement and style from your Copy Movement Videos
      • Add background music and text overlays (if configured)
      • Save the finished video to your Output Queue

    IMPORTANT

    • Always use a clear input photo and reference video where the character’s face is visible from the very first frame.
    • Avoid cluttered inputs. If there are multiple faces, blur the non-priority ones or keep them in the background. The main character must be in the foreground.
    • If your reference video is a close-up, your input photo should also be framed as a close-up.
    • If the reference is a medium or full-body shot, match that style with the input.

    Step 4: Auto-Post Your Generated Videos

    You can now connect your video output queue directly to your campaign:

    1. Go to your TikTok or Instagram campaign settings.
    2. Set the Content Queue to your output queue (e.g., My Influencer Video Queue).
    3. SocialAppFarm will automatically post the newly generated videos based on your campaign schedule.
    4. Just keep uploading fresh images or generate it using your AI Influencer to your input queue Socialappfarm will keep generating new videos and post to your account

    ✅ Summary

    StepActionResult
    1Create input & reference queuesStore AI images and motion source videos
    2Configure faceless content automationCombine images + movement + text
    3Save automationAuto-generate realistic AI influencer videos
    4Link output queue to campaignAutomatically post to social media

    Your AI influencer can now continuously create and post dynamic, realistic videos that replicate the style and rhythm of real influencers — entirely automated through SocialAppFarm.
  • Creating Your Ultra-Realistic AI Influencer with SocialAppFarm

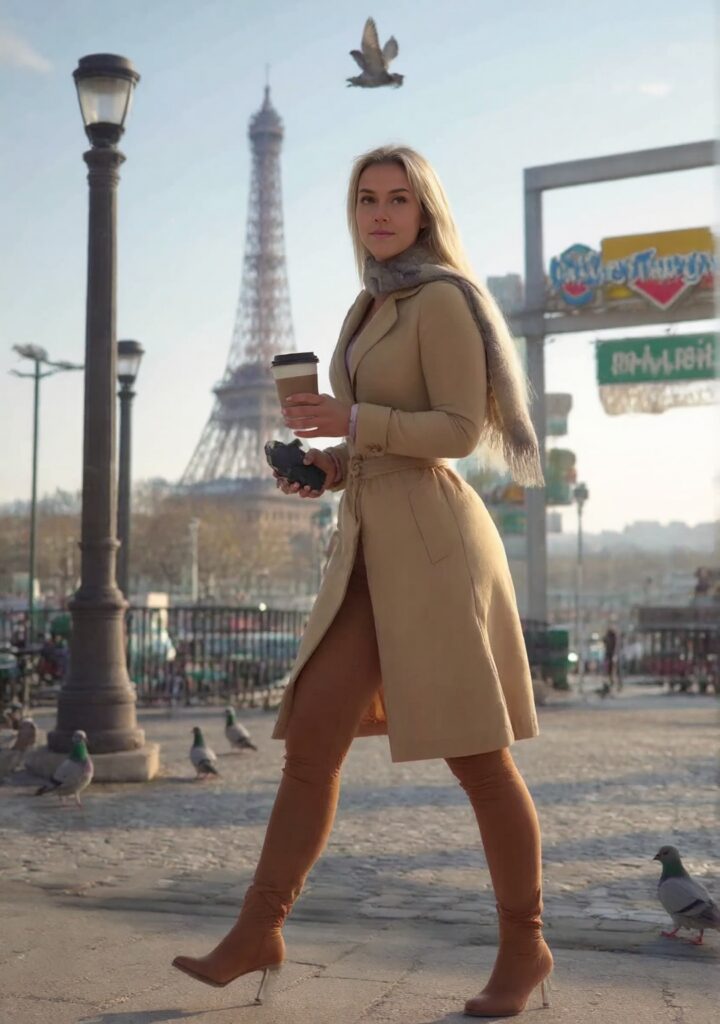
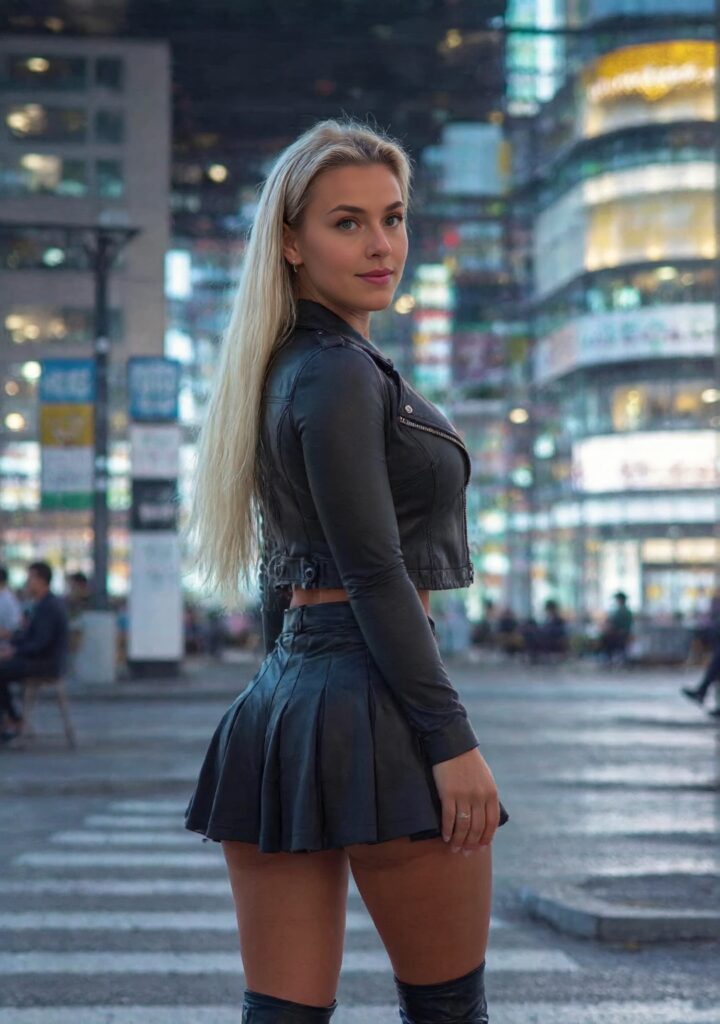
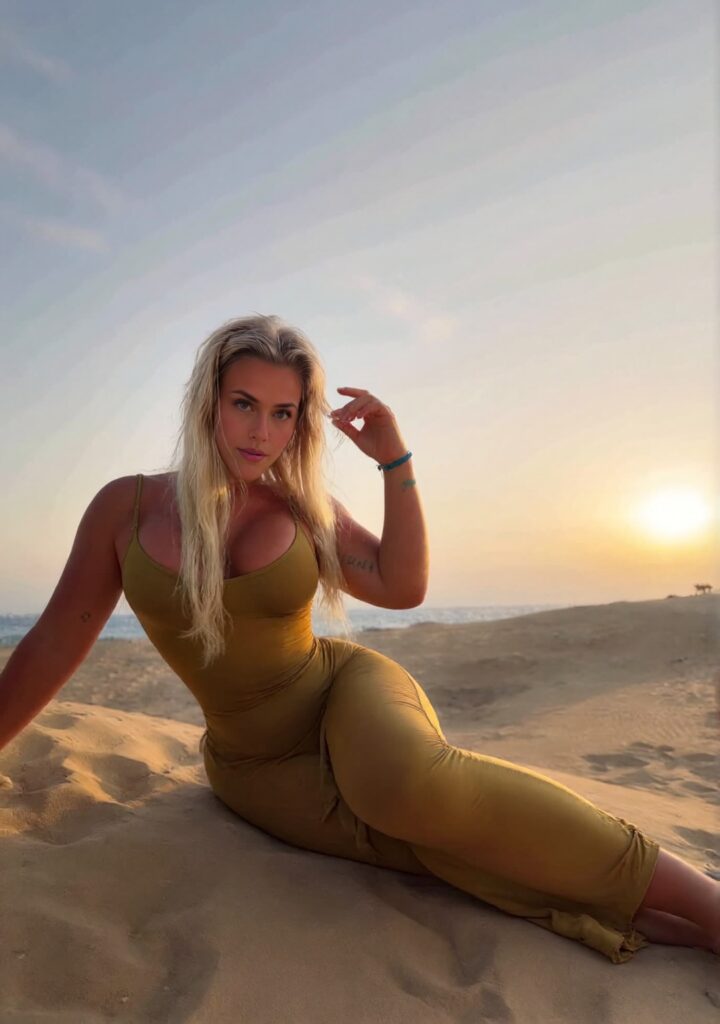
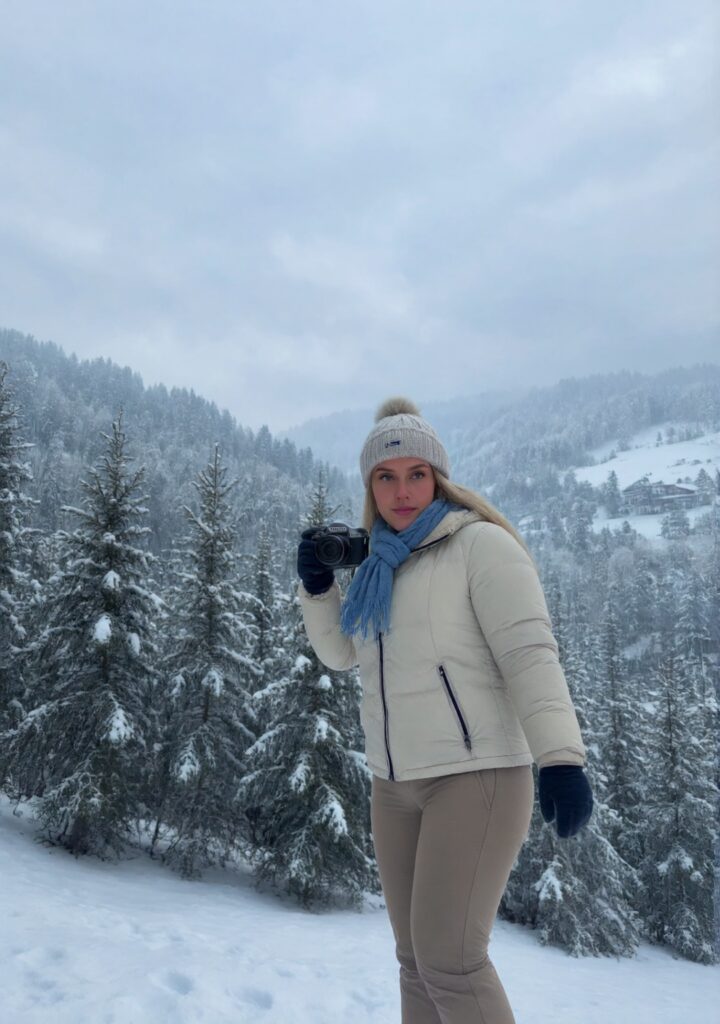
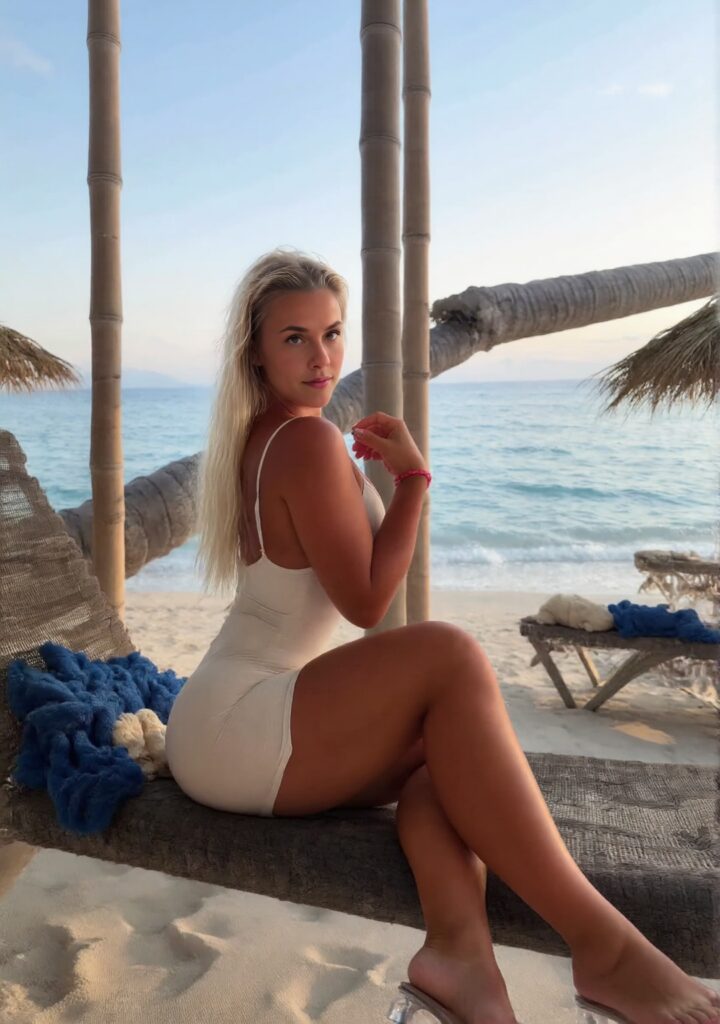
    What if I told you the people in those images and videos aren’t real?
    They’re AI Influencers — created entirely using SocialAppFarm.
    And here’s the best part: you can create your own AI influencers too, then plug them directly into your automation campaigns on SocialAppFarm to generate a constant flow of endless, high-quality content for your social media accounts.

    Creating your AI influencer using SocialAppFarm is simple — you don’t need expensive GPUs, technical setups, or any AI expertise.
    With SocialAppFarm, you can create your influencer in just a few clicks and automatically generate high-quality content that connects directly into your social media campaigns and content automation pipelines.

    This guide walks you step-by-step through how to create your first AI influencer.


    📸 Step 1: Gather Your Training Images

    The first step is to collect clear, well-lit photos of the influencer or model you want to train.

    Image Requirements

    • Quantity: 15–20 images (the more variety, the better the results).
    • Quality: Use sharp, high-quality images with good lighting. Avoid blurry or low-resolution photos.
    • Format: JPEG or PNG.
    • Resolution: Aim for 512×512 or higher.
    • Variety: Include photos of the same person in different poses, clothing, and backgrounds. Variety helps the AI generalize and produce more realistic results.

    Tip: Avoid filters or heavy edits — natural photos give more accurate AI likeness.


    🧰 Step 2: Create a Content Queue for Training Images

    Once your images are ready:

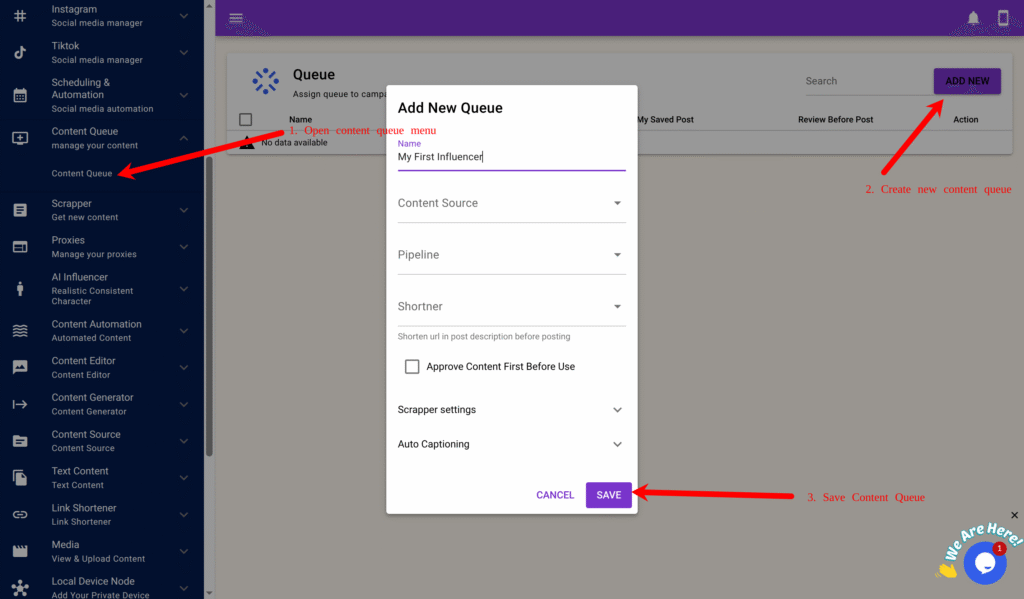
    1. Go to Content Queue → Content Queue on the main menu.
    2. Click Add New and enter a name — for example: My First Influencer
    1. Click Save.
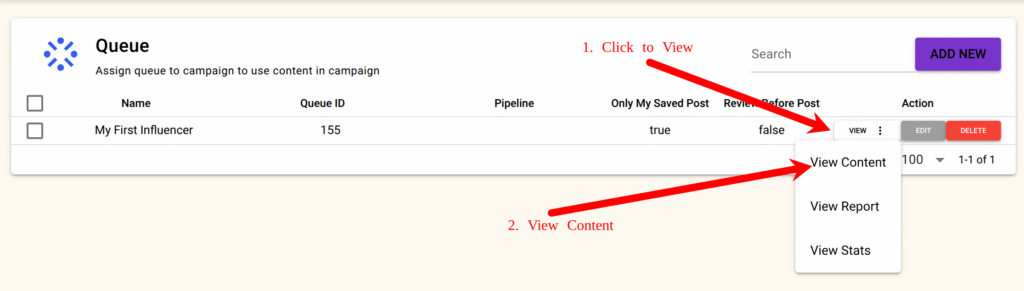
    2. Next, click View → View Content on your newly created content queue.
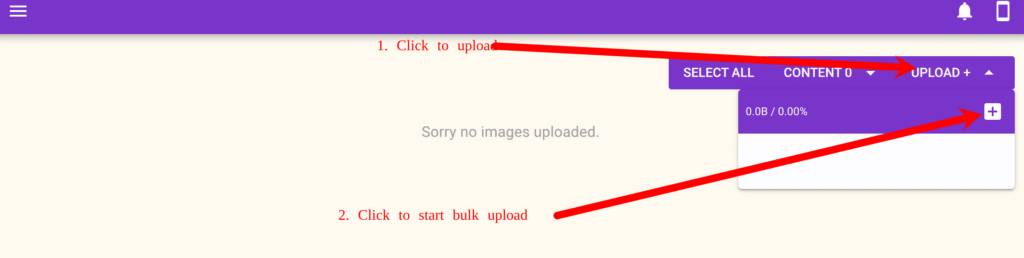
    1. Click the + Upload icon and upload all your prepared images.

    If any uploads fail, simply re-upload those specific images.
    This queue will serve as your training image source for the AI model.


    🤖 Step 3: Create a New AI Influencer

    Now that your training images are uploaded:

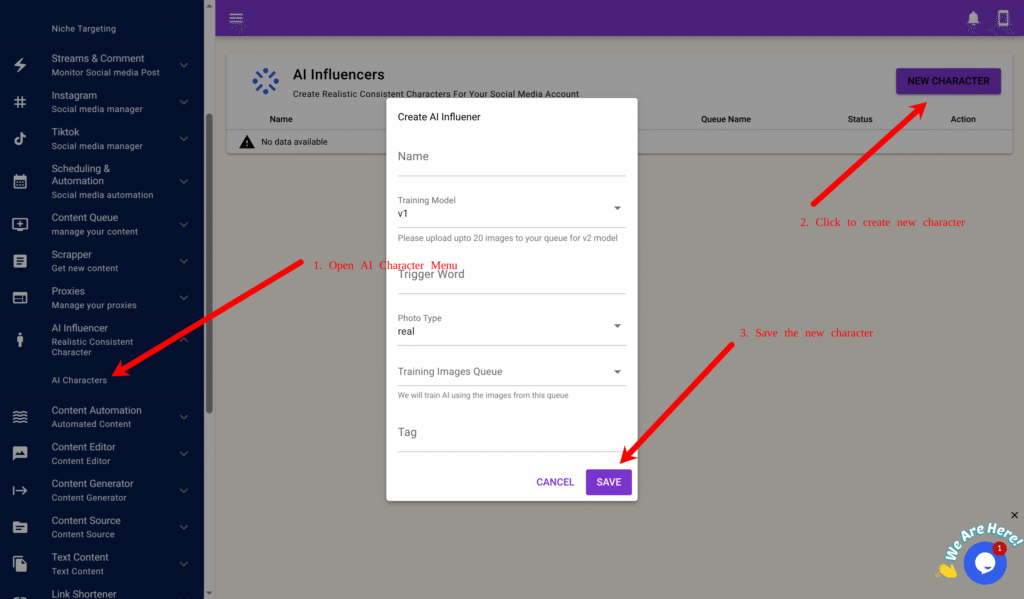
    1. From the main menu, go to AI Influencer → AI Characters.
    2. Click the New Character button.
    3. Fill in the fields as follows: FieldDescription
      • Name: The display name of your AI Influencer (e.g., Jane).
      • Model: Choose v1 or v2.
        🔹 v1 = cheaper and faster
        🔹 v2 = more realistic and higher quality.
      • Trigger Word: A unique keyword used when generating images (e.g., j1ne1). This acts as your influencer’s “identity.”
      • Photo Type: Normal Select the base image style (portrait, lifestyle, studio, etc.). You can change this later.
      • Training Images Queue: Select the queue where you uploaded your training photos (e.g., My First Influencer).
      • Tag(Optional): A label to help organize or assign your influencer in campaigns later.
    4. Once filled, click Save to create your influencer.

    ⚡ Step 4: Train Your AI Influencer

    After saving, click the Train button to start training your influencer.

    SocialAppFarm will automatically begin AI model training using your uploaded images.
    The process usually takes about 20 – 30 minutes, depending on the model type and server load.

    You can monitor progress from the Status field next to your influencer name.


    🖼️ Step 5: Generate Test Images

    Once training is complete, you’ll see a Generate button next to your influencer.

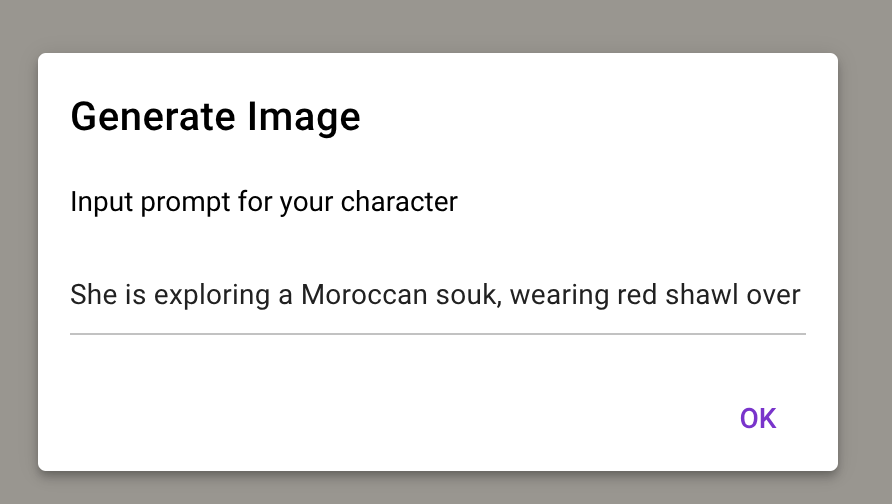
    1. Click Generate to open the prompt dialog box.
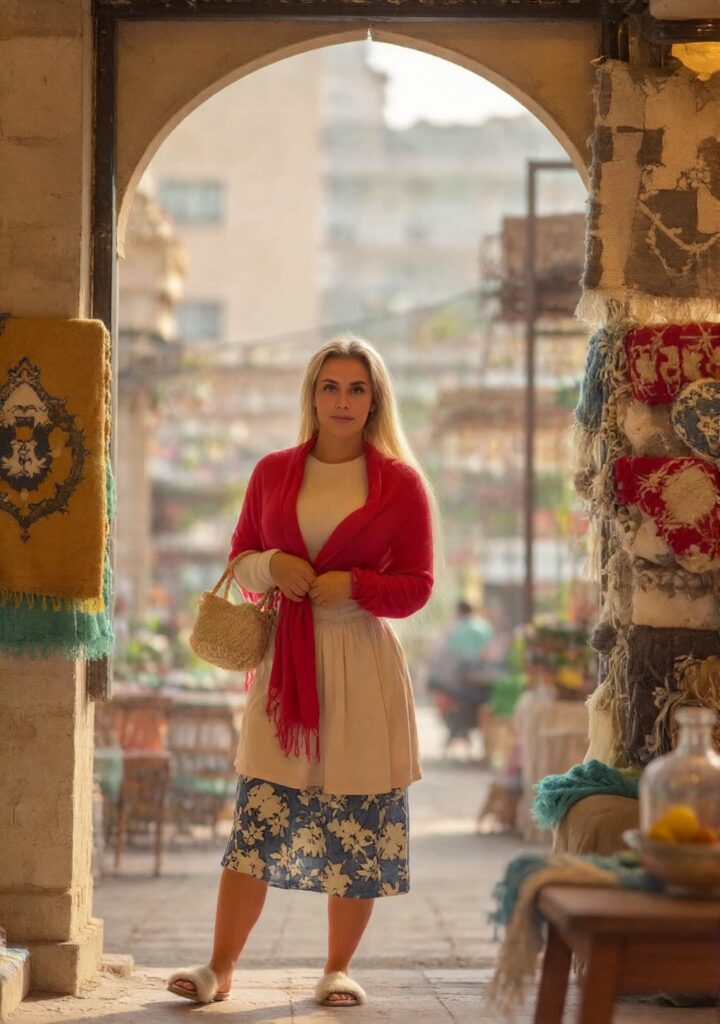
    2. Enter a short descriptive prompt — for example:
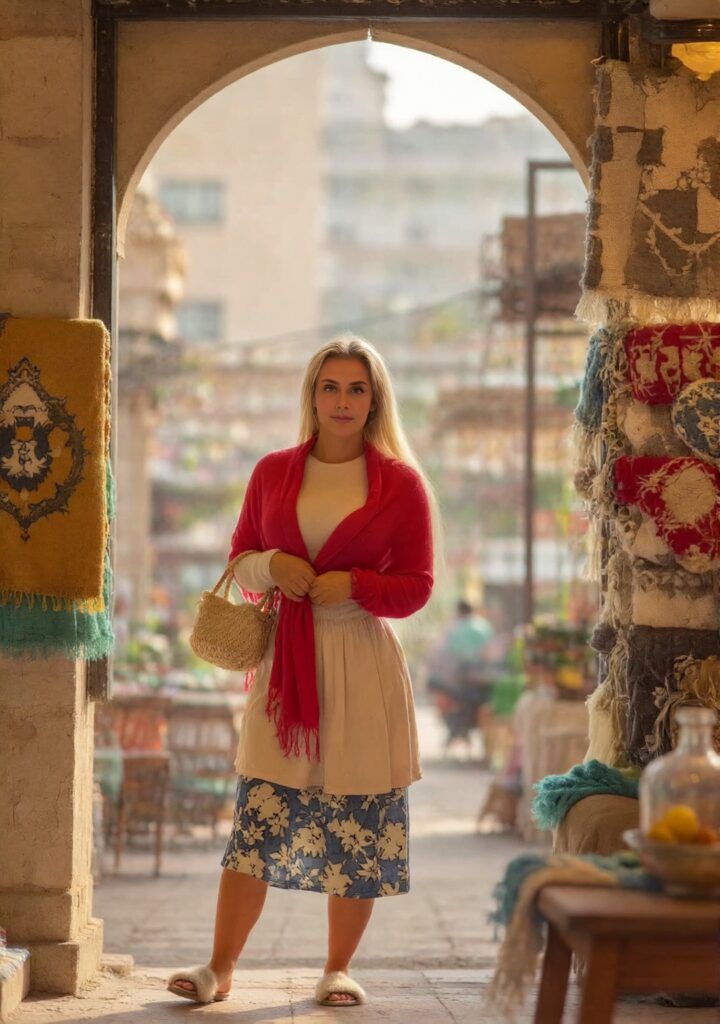
      • She is exploring a Moroccan souk, wearing red shawl over cream blouse, patterned skirt, carrying woven bag, colorful carpets and spices around, soft dust haze in air, afternoon light filtering through, warm tones
    3. Click Generate Image.

    Within seconds, SocialAppFarm will create and display your AI-generated image in a pop-up window.

    Tip: Try creative prompts to explore different angles, lighting, or scenarios:

    • “Wearing business casual in a modern office.”
    • “Sunset portrait by the beach.”
    • “Studio photo with soft lighting and neutral background.”

    📈 Step 6: Integrate into Campaigns

    Once your influencer is trained and tested, you can:

    • Use our content Automation To Keep Generating Fresh And cool images For your AI Influncer
    • Plug the AI influencer into SocialAppFarm campaigns & Account for automated posting.
    • Use it with Content Generator or Content Editor for captions and media blending.
    • Assign it to different projects or devices to automate multi-platform influencer activity.

    ✅ Summary

    You’ve just created your first realistic AI influencer — without writing a single line of code or owning a GPU.

    With SocialAppFarm, you can:

    • Build custom influencers with unique trigger words
    • Generate endless photorealistic images
    • Automate their social media activity
    • Integrate AI influencers directly into your content pipelines

    Continue experimenting with prompts, photo types, and models (v1 vs v2) to find the perfect look and personality for your AI influencer.